Dummy Website Building Tutorial
by Zhaoning Wang
17 November 2020
Three versions are included in the post:
- Five minutes version (Not a bit experience required, a simple, quick website to show on the internet)
- One hour version (A more complicated version with more functionalities)
- Long-term sustainable (Good for longer term convience of creating posts and updating information)
disclaimer
This page is highly inspired from Li zeng’s page, though many changes have been made
Five Minutes Version
step 0: get a github account if you don’t have one
get one here https://github.com/
step 1: create a repo with name you’d like to be the appendix of your website
Note that your website will be your_username.github.io/repository_name (EricWang12.github.io/Home in this example)
also for repository name, cases DO matter
Take Home as example:
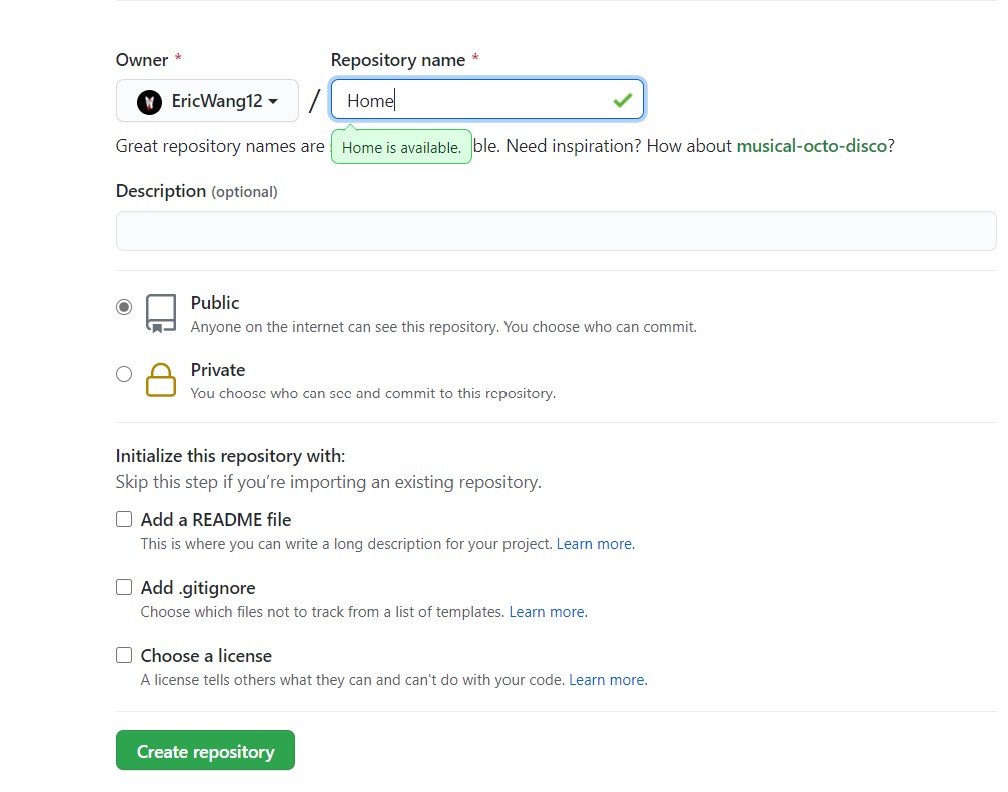
hit Create repository
step 2: initiate your pages
go to Setting
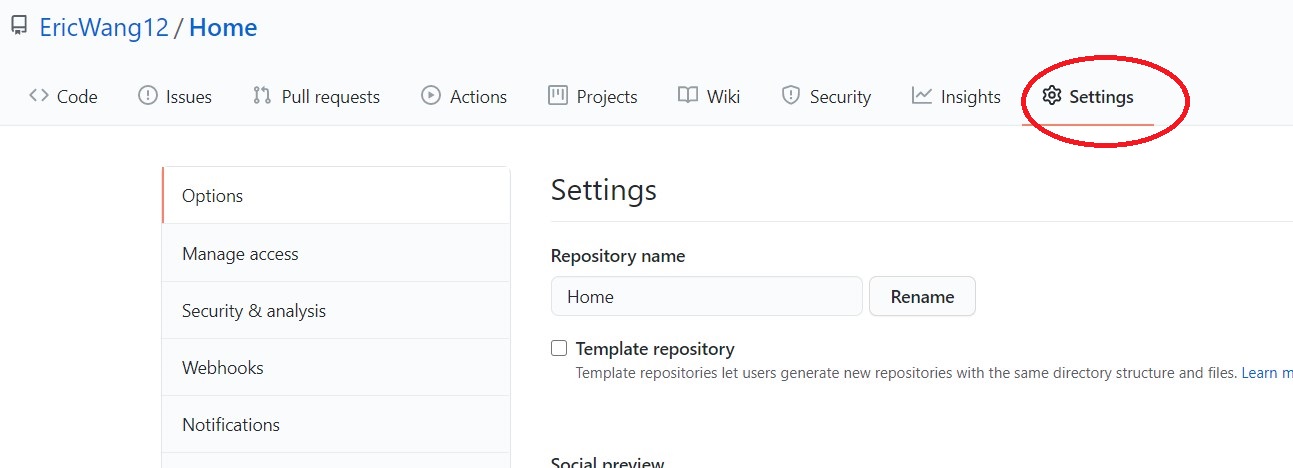
find the part of GitHub Pages
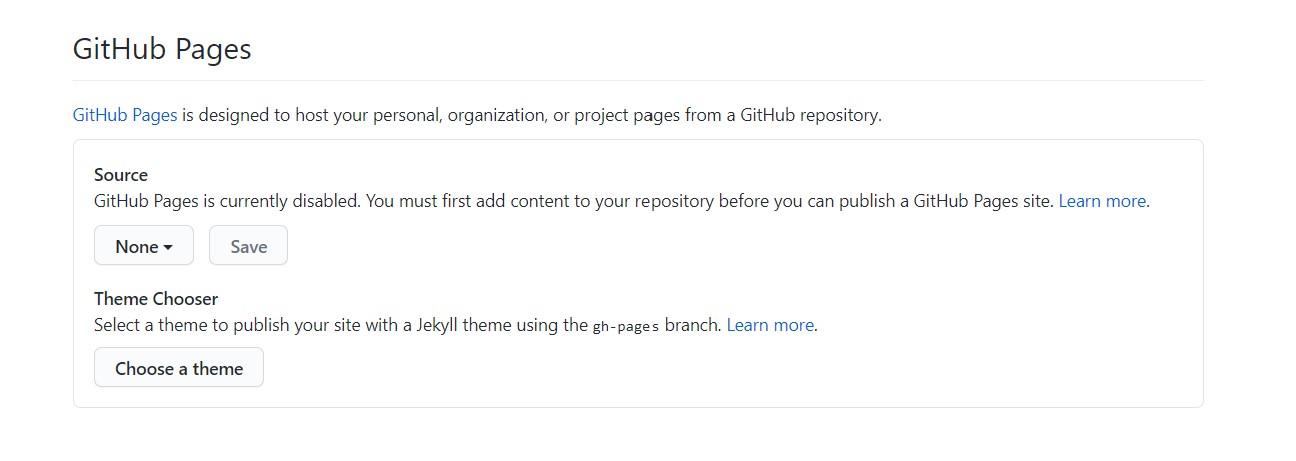
click choose a theme and find the best theme you’d like and click select theme
Take Slate theme as a example:
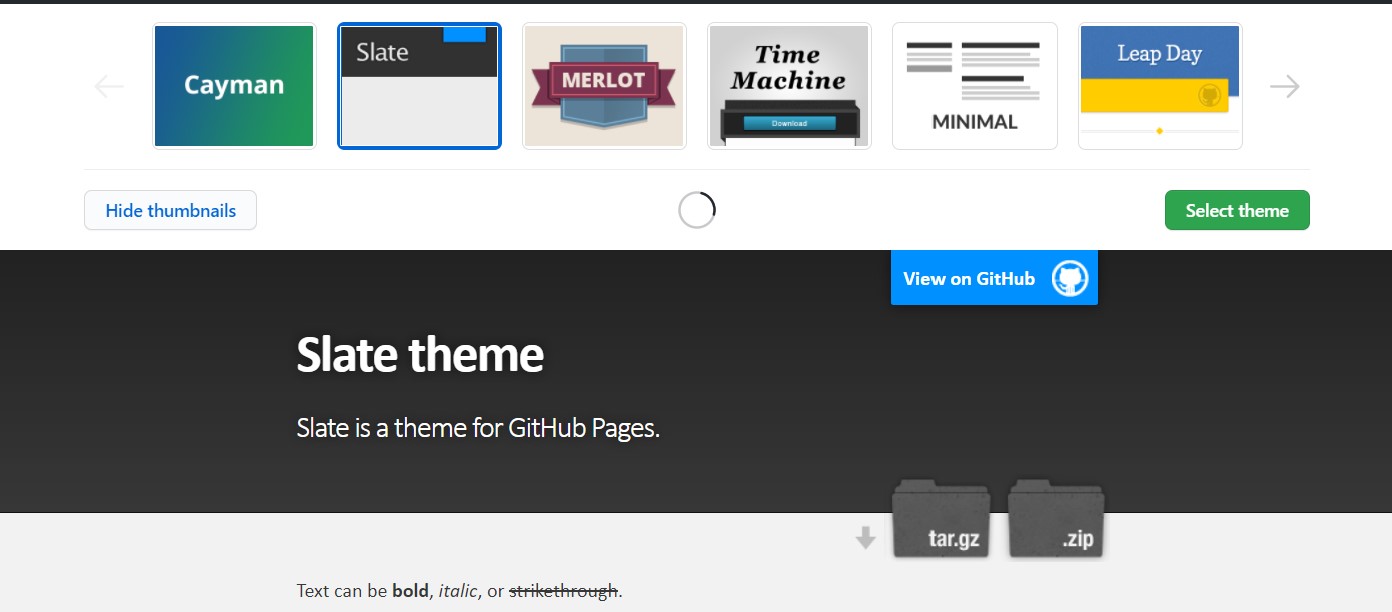
Then it will go to a file called index.md, That will be your website page!
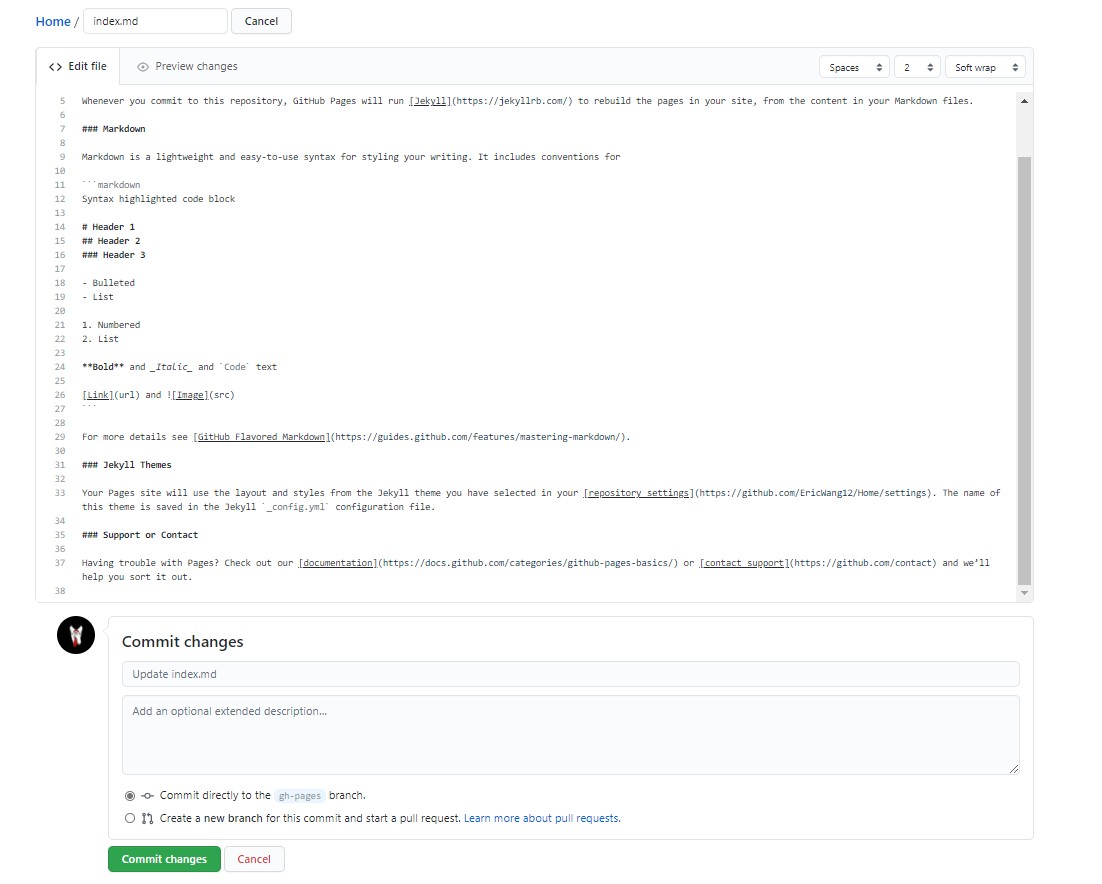
After you finish editing it, or just leave it and edit later, click commit changes at the bottom. You can always change it later!
step 3: see and edit your website
Your website is already live! take a look at your_username.github.io/repository_name (EricWang12.github.io/Home in this case)
If you want to edit your web,
find the index.md in the repository

click the file and click the little pen mark on top right
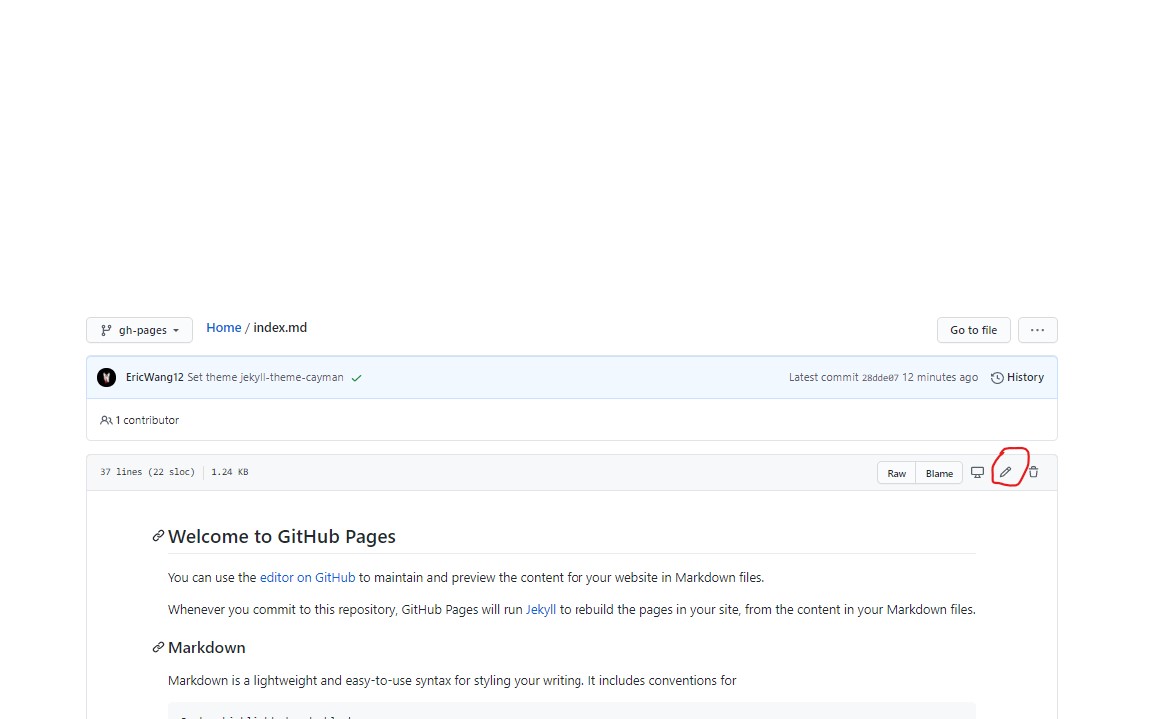
and you are back to editing!
The index.md IS the information on your website, you can find a cheatsheet of markdown from adam-p HERE
step 4: There is no step 4! U R Done!
Or you can read the cheatsheet above…
One Hour Version
TO BE UPDATED
Long Term sustainable
This part assumes you know a little about:
- Terminal/Command line
Optional:
- html (real easy thing to learn)
- GitHUb (also nothing hard)
and you will be ready!
but if you don’t that is totally okay! you can still make amazing websites.
Steps
- Get a domain
- set up local environment for Jekyll
- customize pages and infomation
- set up Github pages
- Host your page on your domain
- Custom features (optional)
and you are done!!! AWESOME!
Get a domain
I used Google domains to get the my domain, as the interface is cleaner and it has better Search Engine Optimization. The tutorial would be based on Google domains, but You can use any domain register website you want.
You go and search the url you want

If it is not occupied, then awesome!! buy that and you will have your own domain name!!!
Set up local environment for Jekyll
First install all stuff you need from the “Installation” from Jekyll page
TO BE UPDATED
tags: